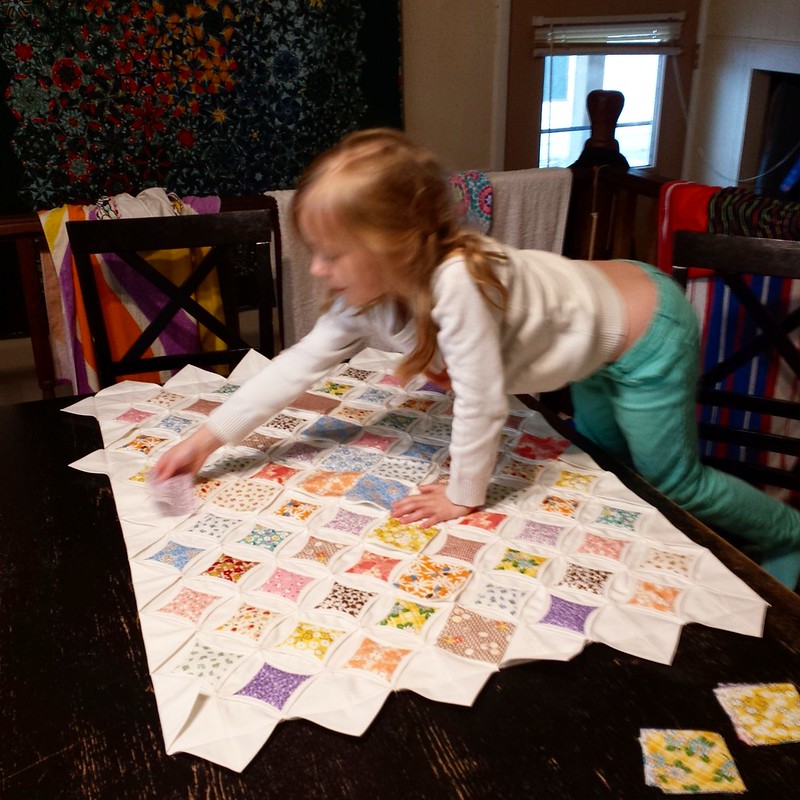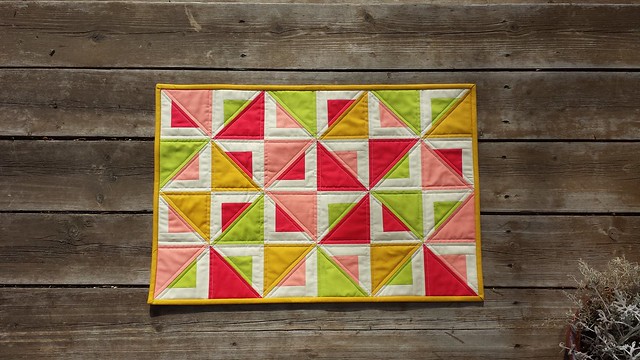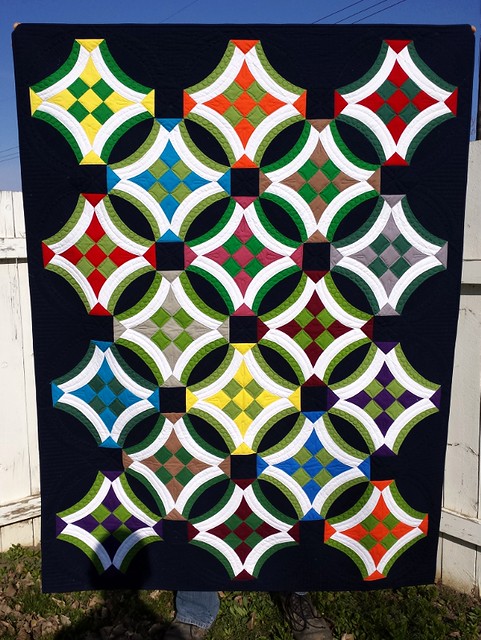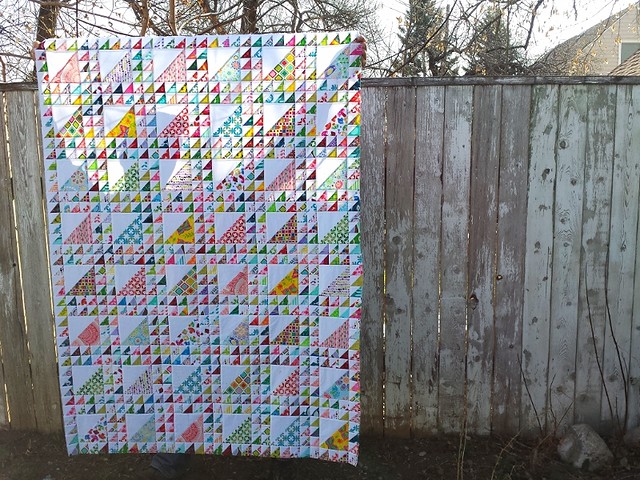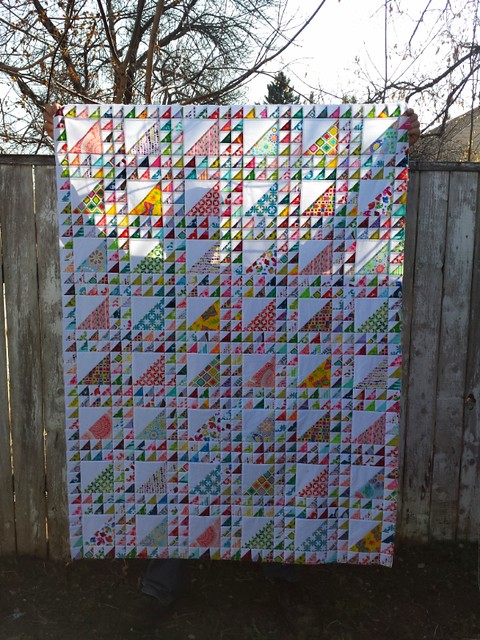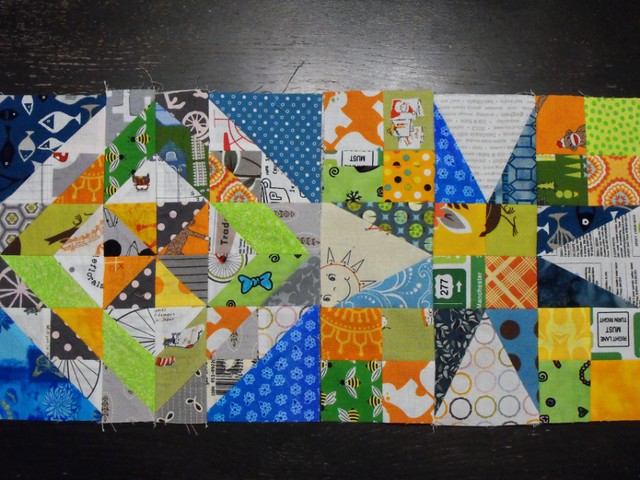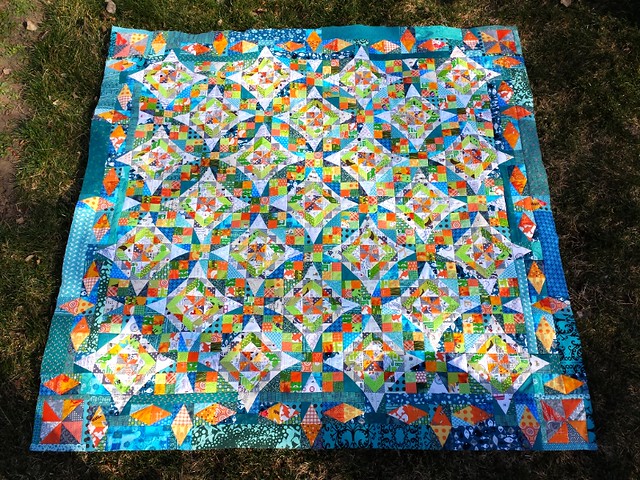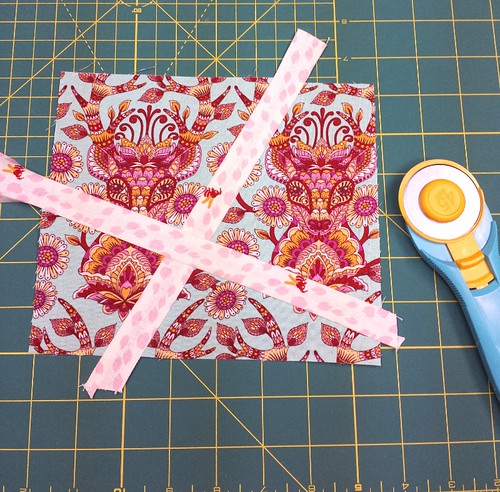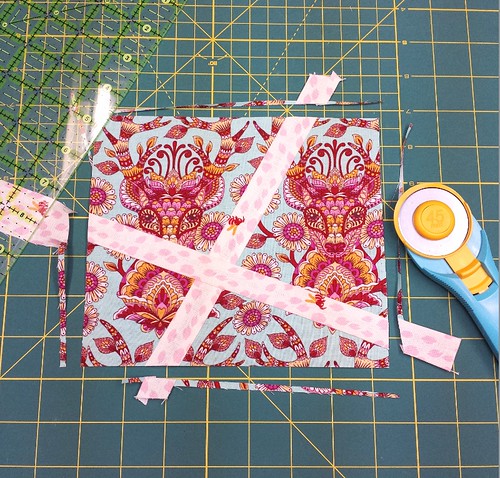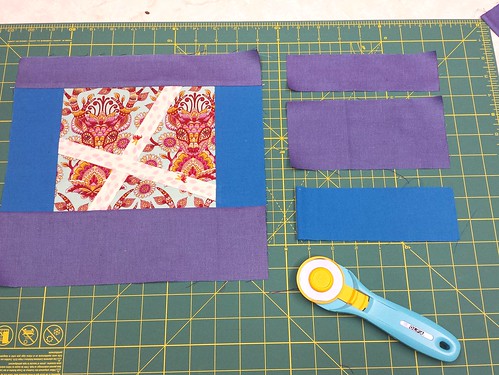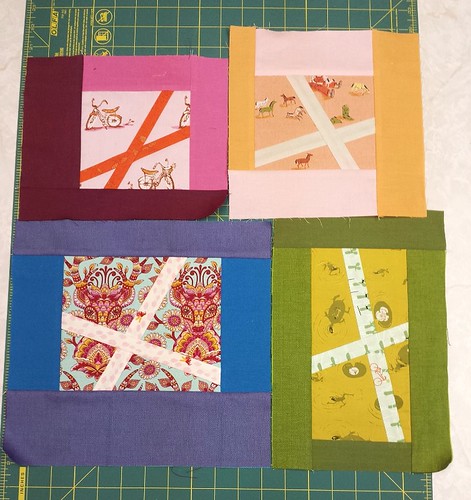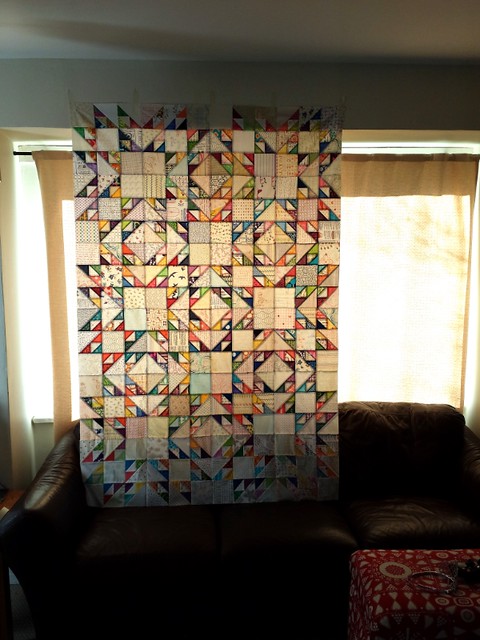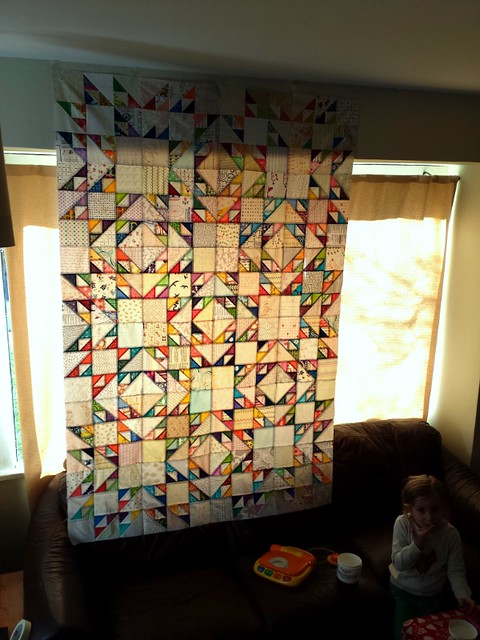
More than three years ago, I was in a bee, the Simply Solids Bee. We used only solids in the blocks we made for each other. The block I chose was one that I designed myself. I named it Alberta Triangles, and the tutorial can be found here. Be warned, those pictures are not the greatest, but they get the point across.
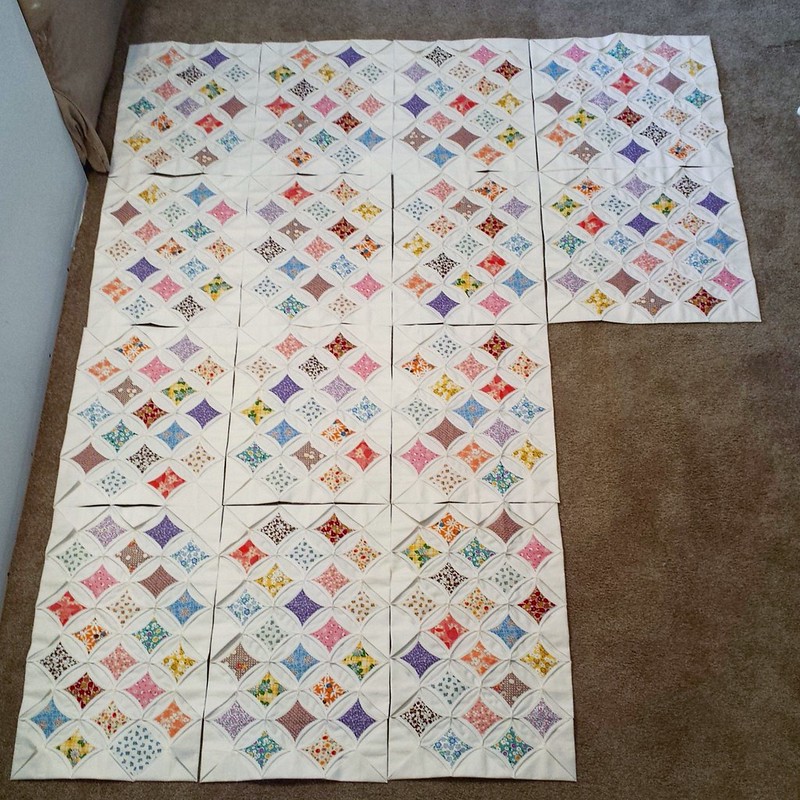
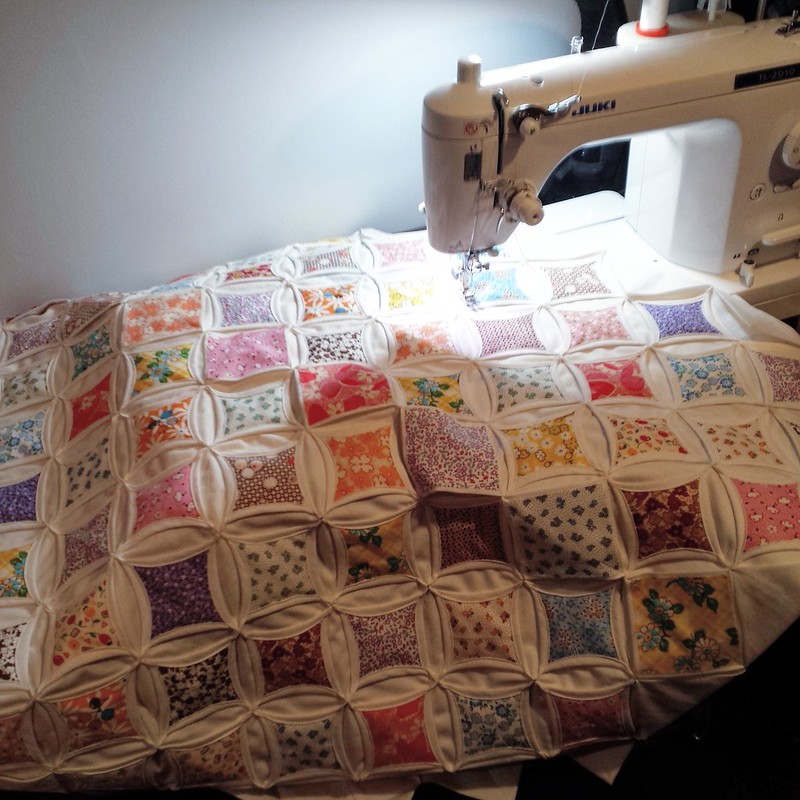
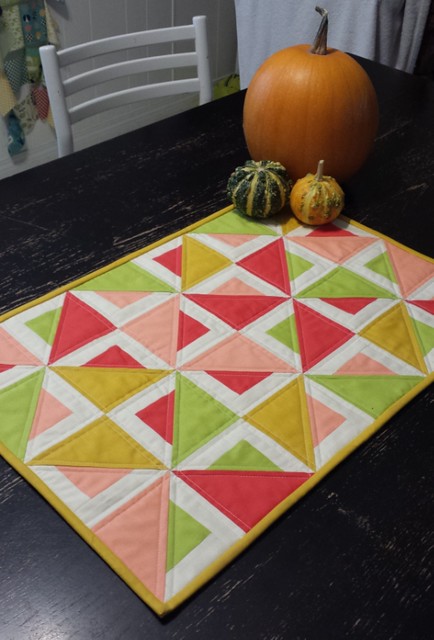
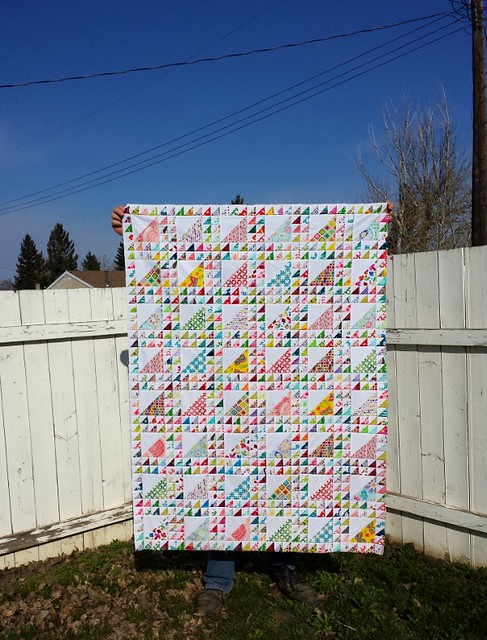
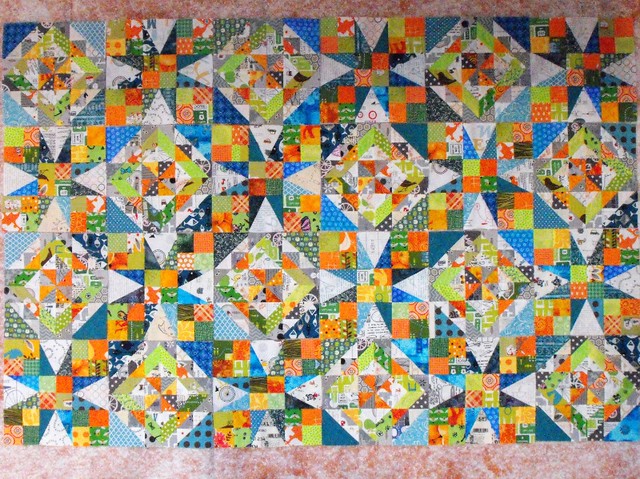
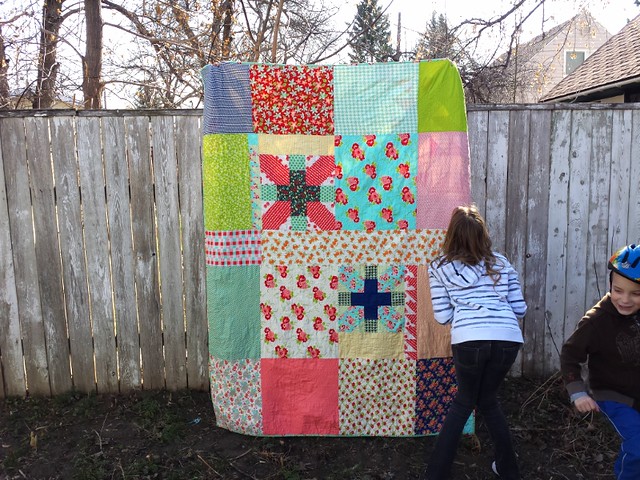
I got the top together relatively quickly. The tutorial went up in April 2013, and the top was done by August of that same year. You can read about how the top went together here. It is one of the most popular quilts that I’ve ever made. People love the saturation of it, and the joyous, in your face colour. I confess that it’s one of my personal favourites as well. So why did it take me so long to finish it? I have no good answer, other than the excuse that basting totally sucks.
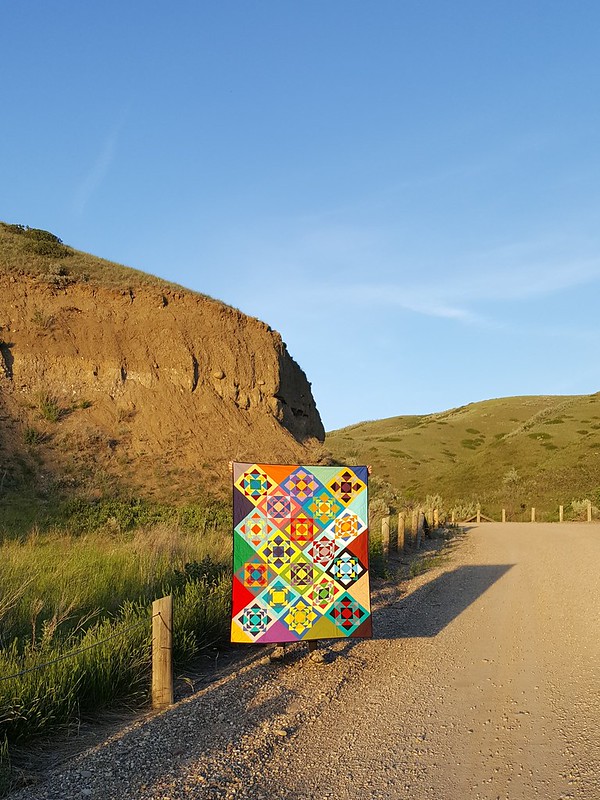
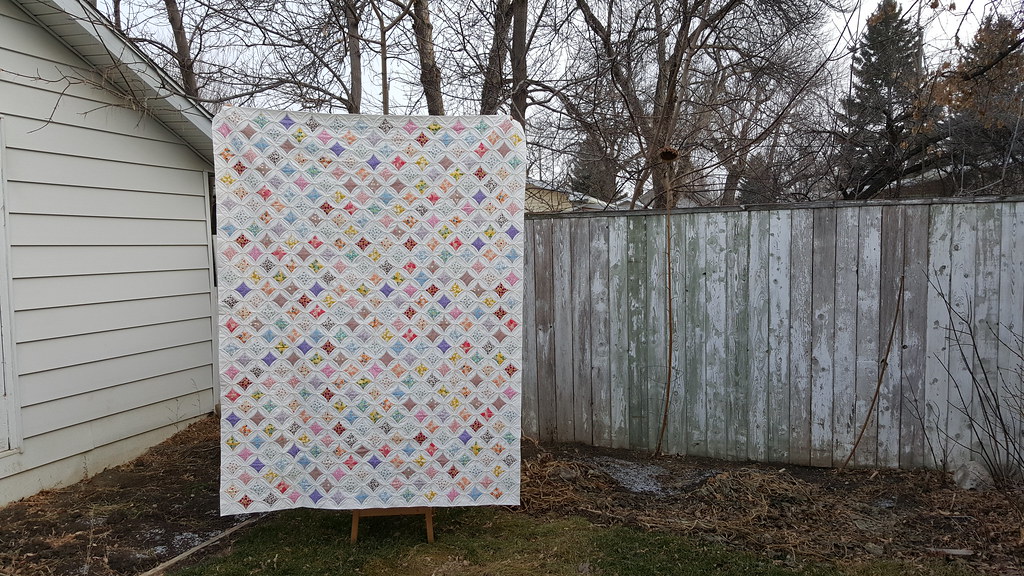
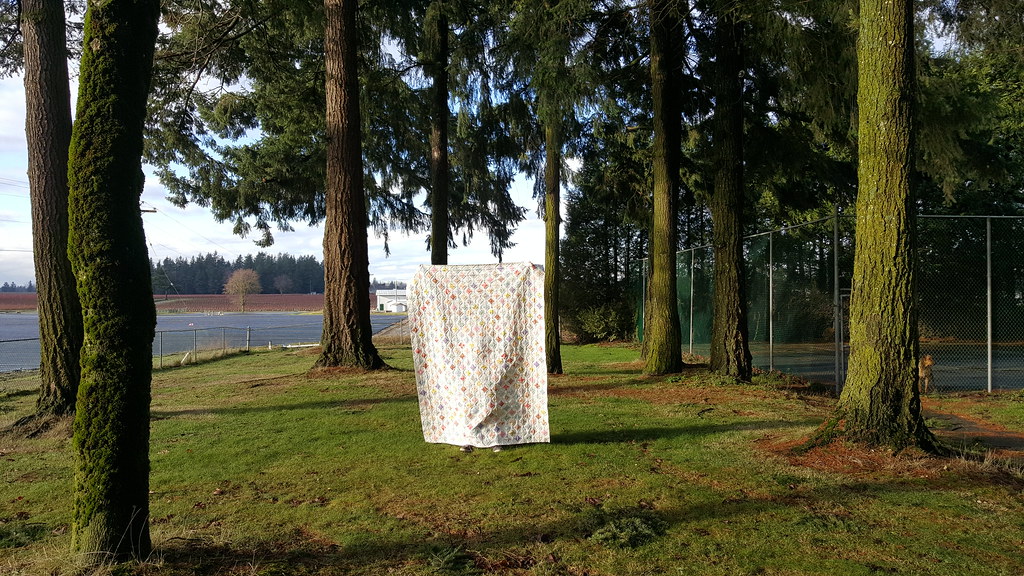
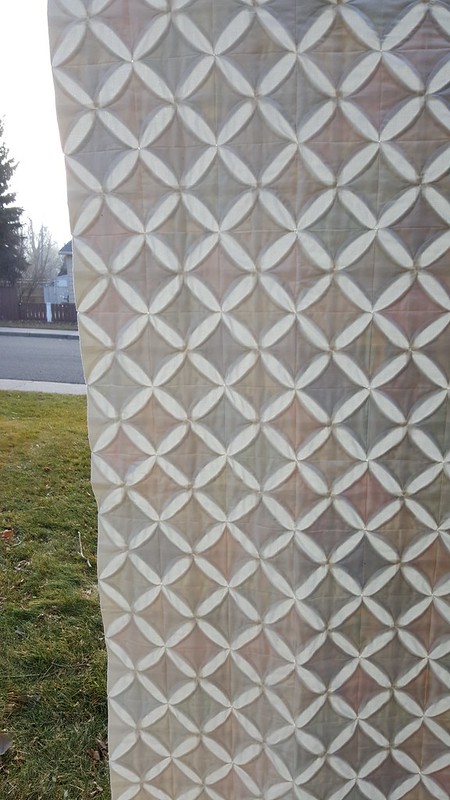
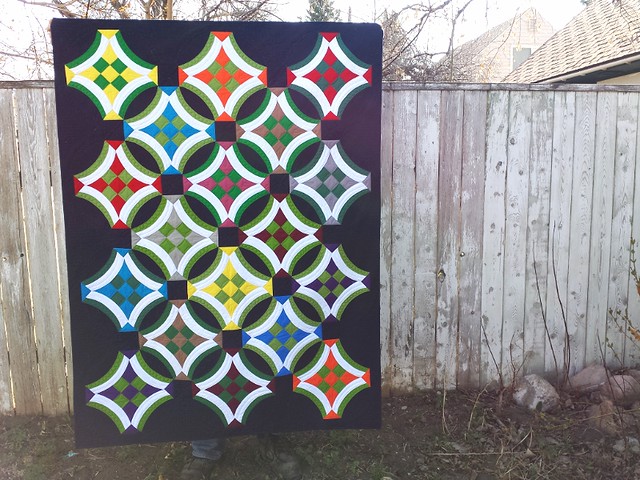
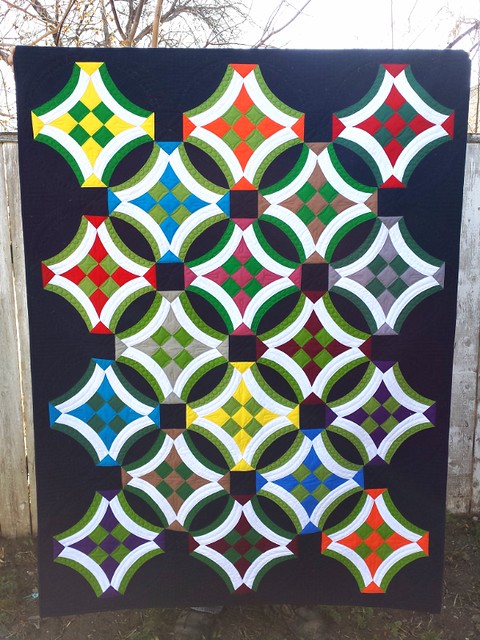
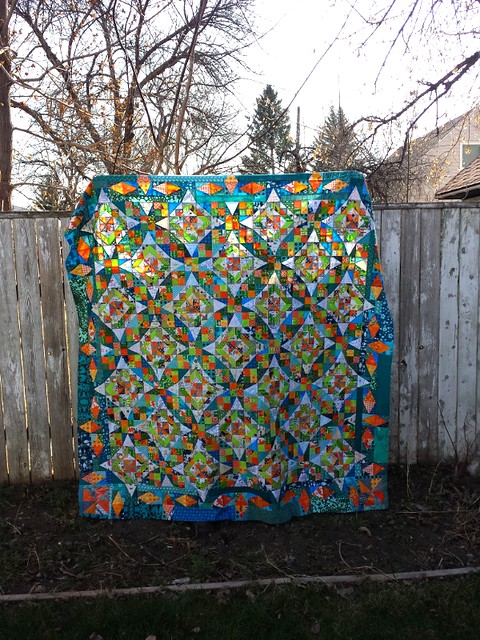
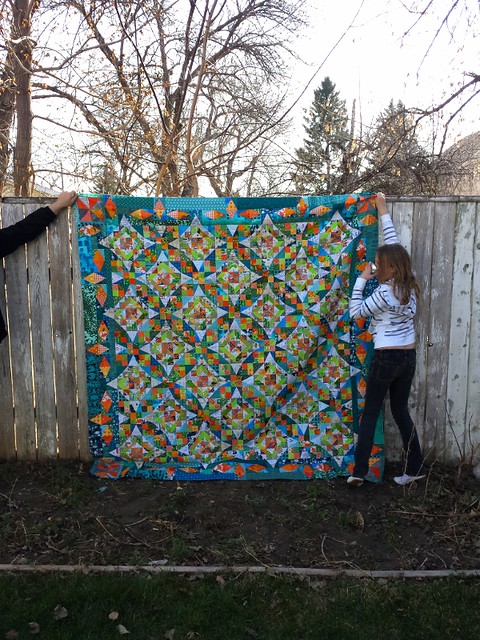
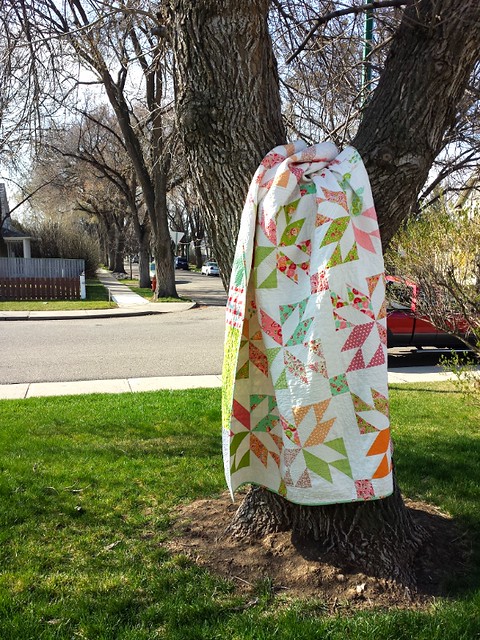
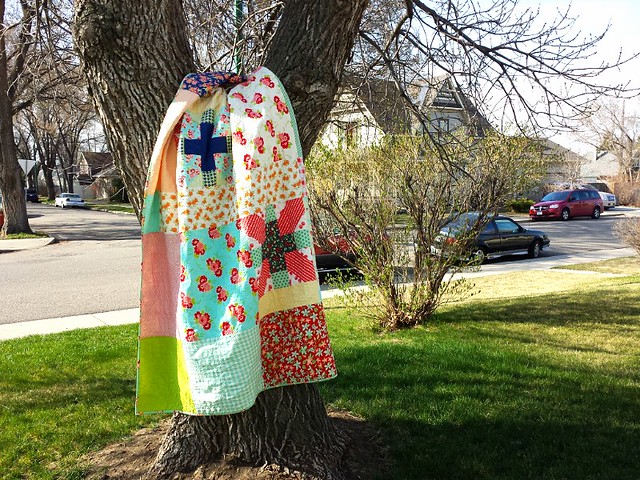
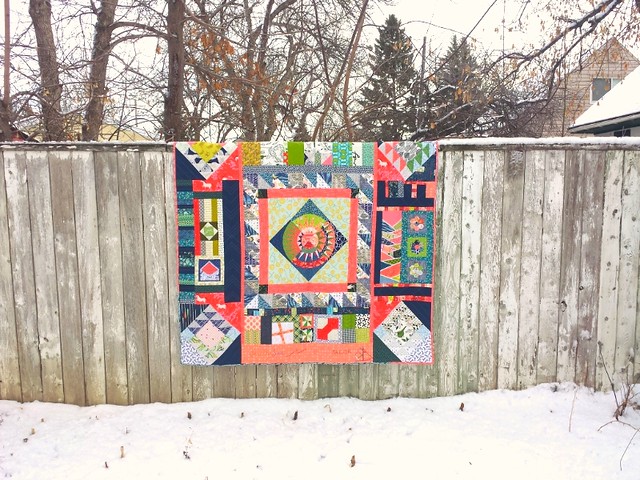
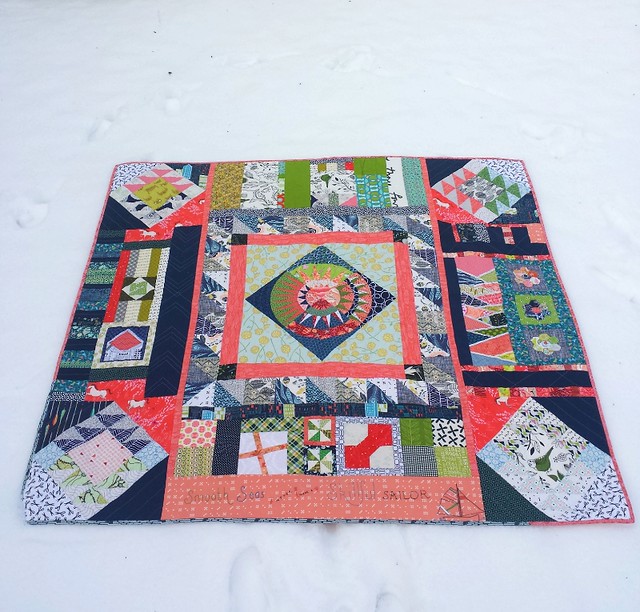
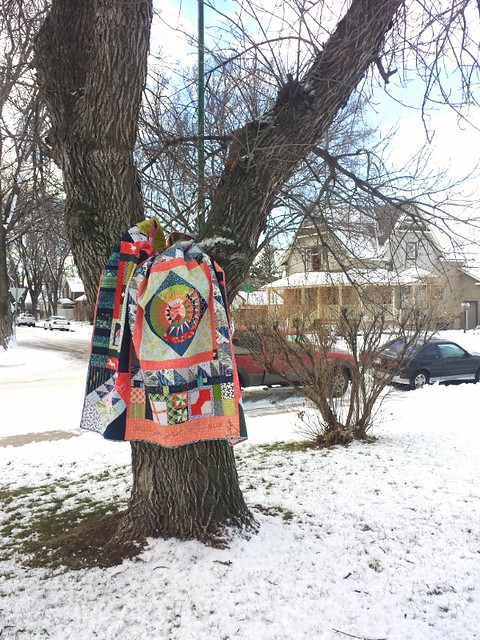
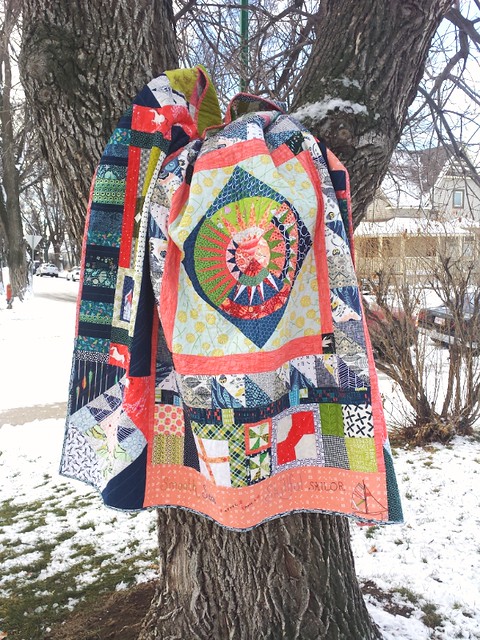
But she is finally done, in all her gloriousness! You can’t really see the quilting in these pictures, but I did straight lines angling toward the centre, turning a 90 degree corner, and then coming back out again. I backed it with an old IKEA duvet cover. I took these pictures in the coulee in Lethbridge, Alberta, where I live. I went down to my favourite of all the coulee parks, husband in tow, and took pictures in the amazing evening light. Because it’s June and it stays light so late, these were taken at about 9pm. I didn’t even filter this picture. The light was so amazing.
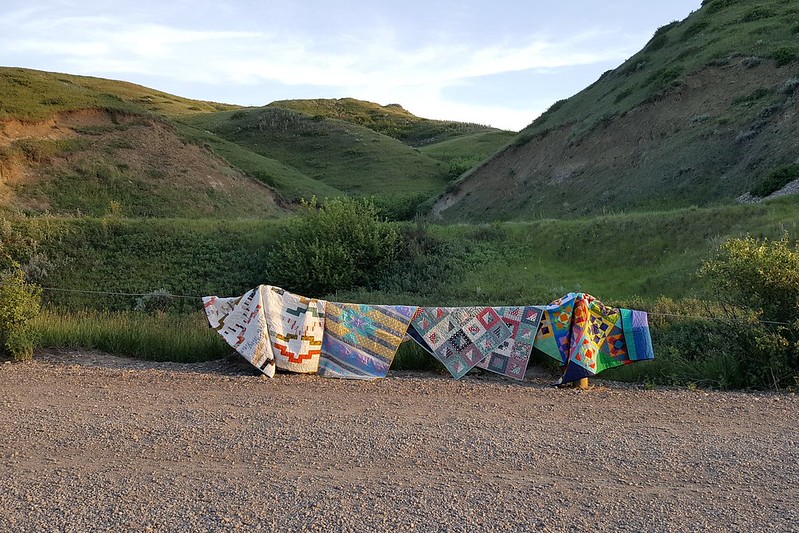
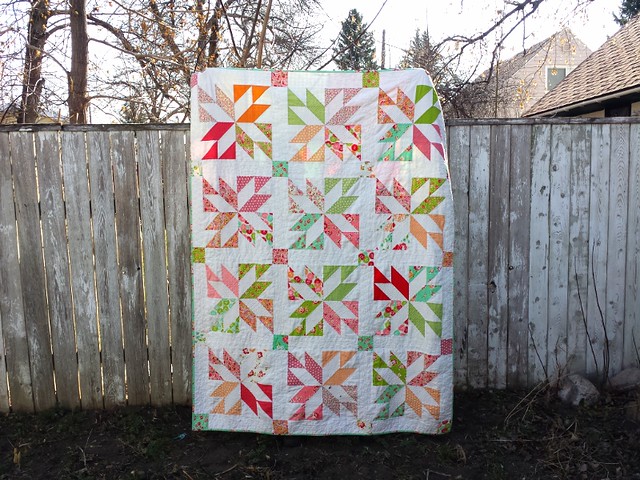
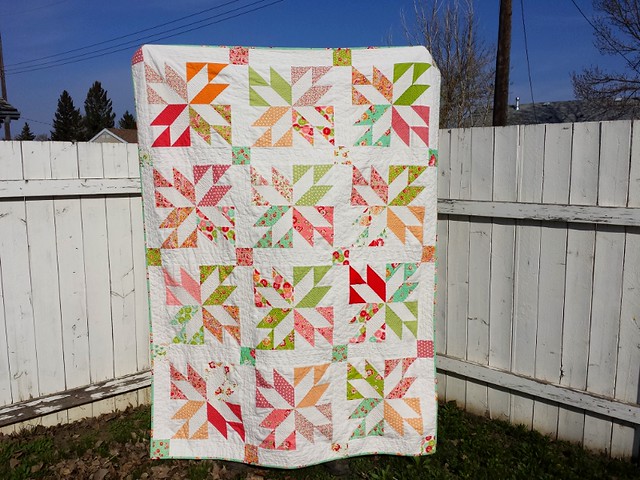
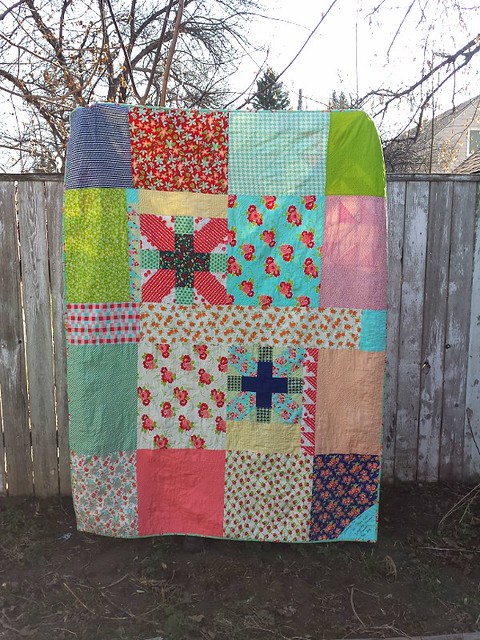
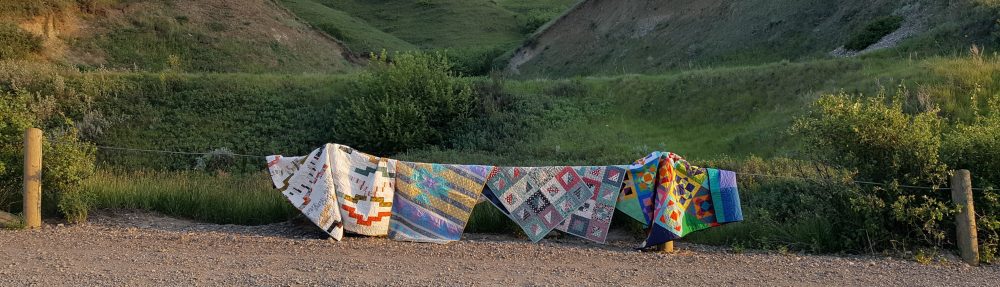
I took pictures of all the quilts on the fence here, so I should have a whole bunch of blog fodder. No more “I have no pictures” excuses! I like this picture so much that I made it my new blog header. Quilts in the coulees. A wonderful match.
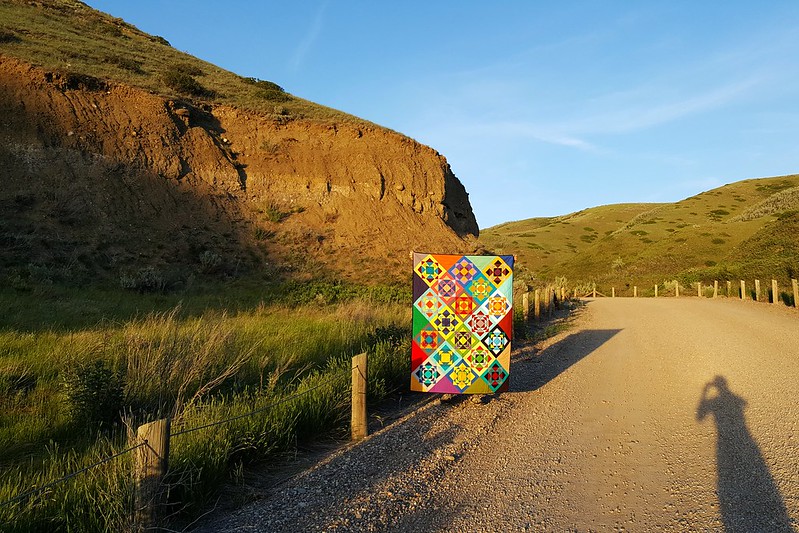
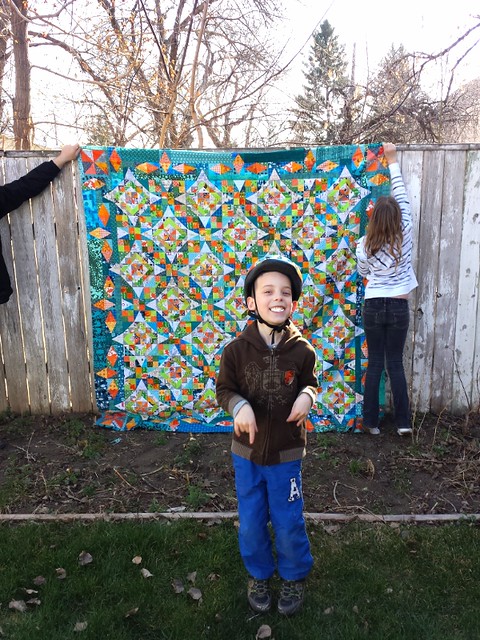
The light was fading and my shadow was long, but I’m glad I kept shooting. This light and this quilt are a perfect combination. Alberta Clipper in the Lethbridge Coulees. Even though the journey was long, this is a fitting end.